Build Linux Router In Stupid Way
Someone said to me,
Stupid guys doing smart things. Smart guys doing stupid thing.
In this article, I’m trying to build up a Linux wireless router in stupid way - step by step, pic by pic.
From the first line to the end, it’ll take about 45 minutes. So, that’s it, let’s go!
Phase 1 - Install Ubuntu Server 16.04 LTS As Much As Defaults
This part takes about 12 minutes.
To make the installation faster, please plug cable off before going.
-
Install Ubuntu server
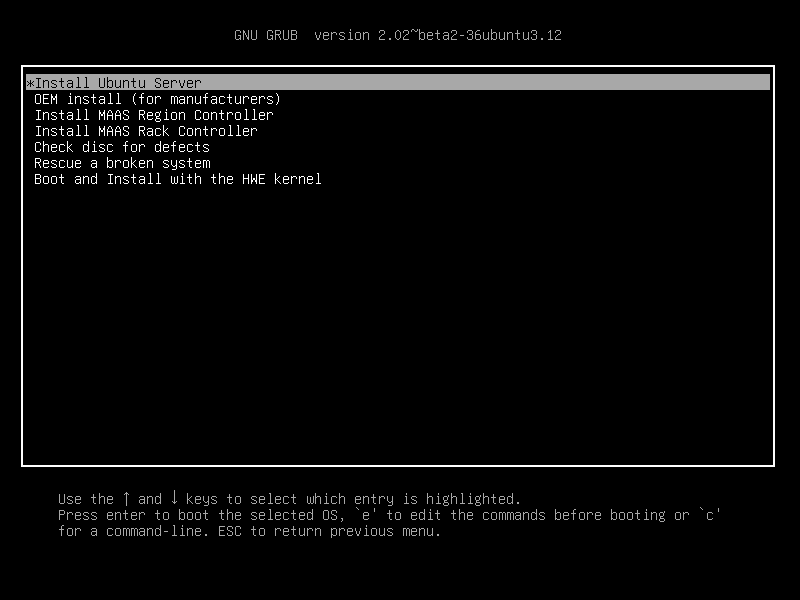
-
Select default language and keyboard.
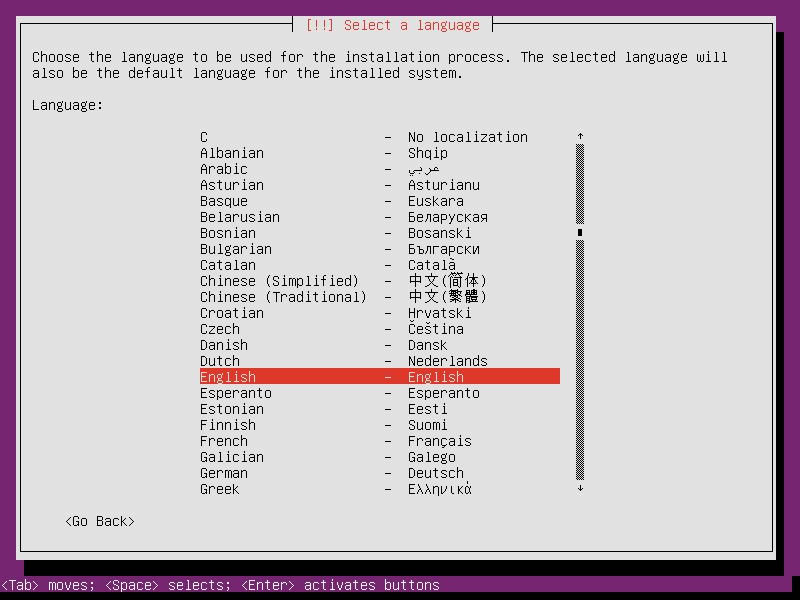
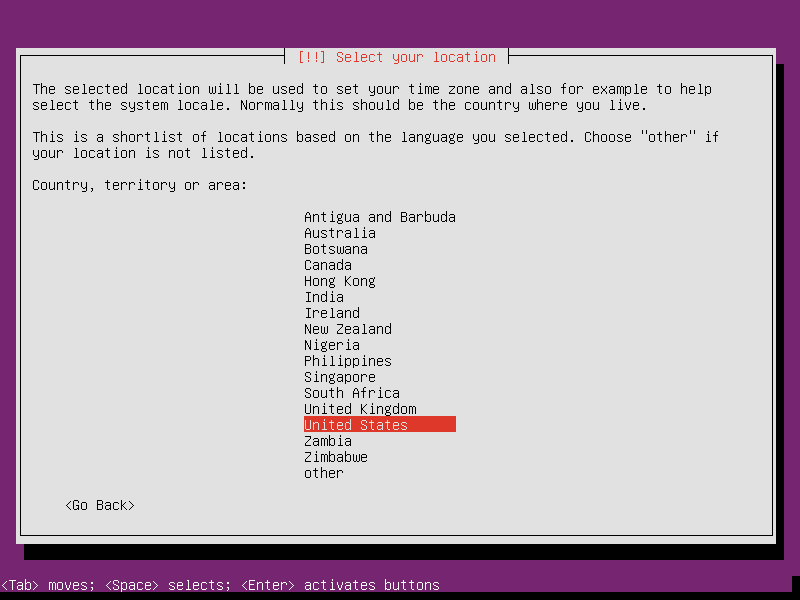
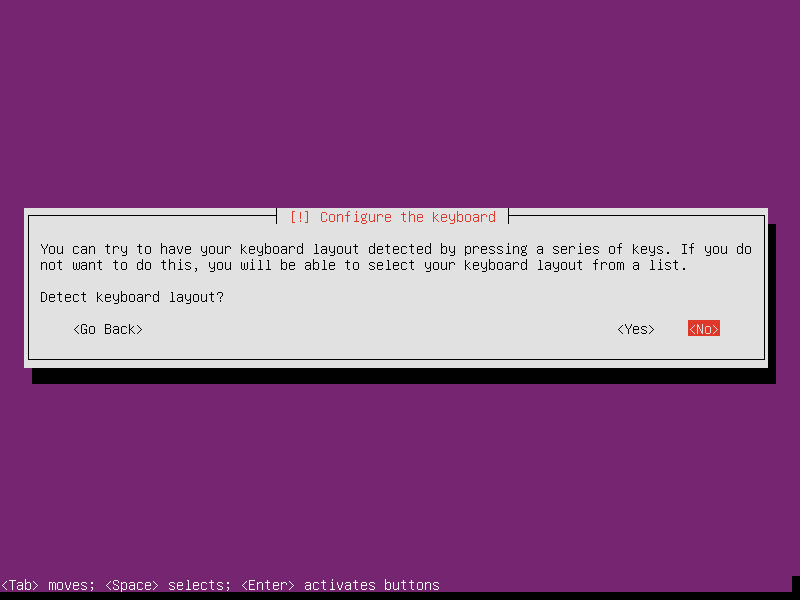
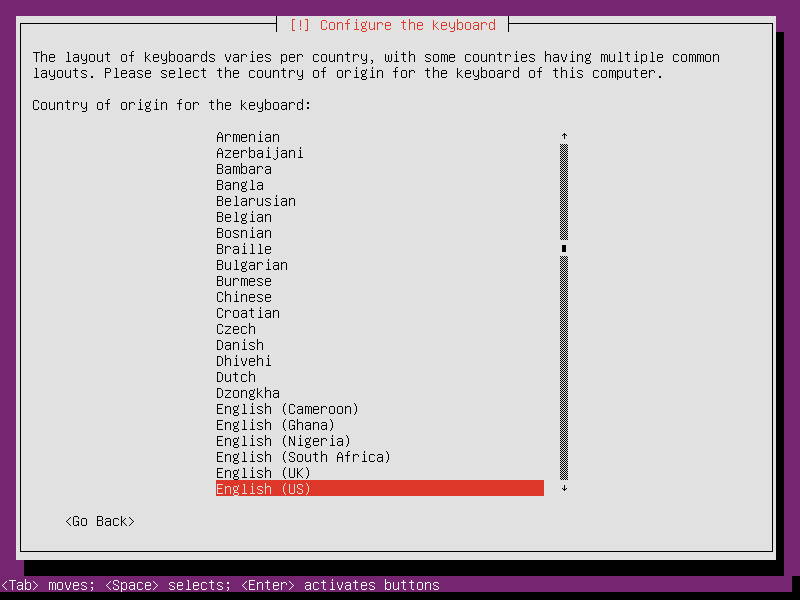
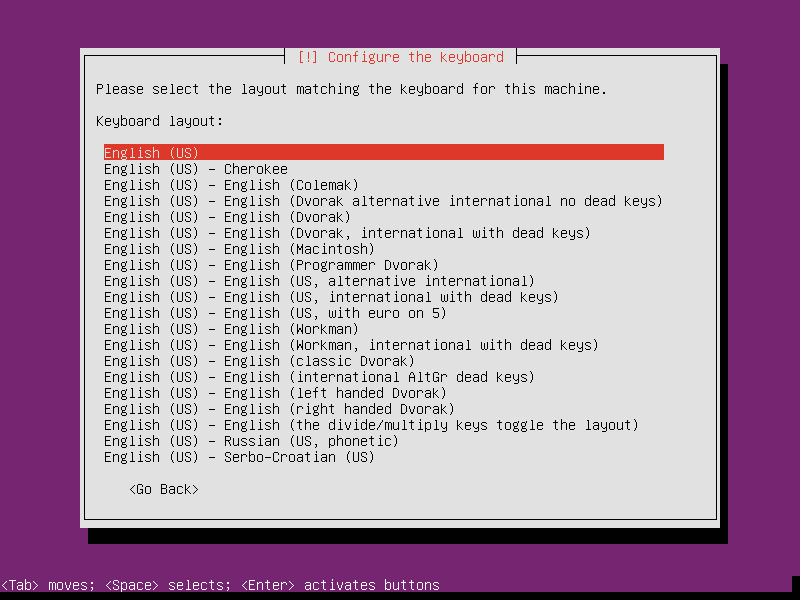
-
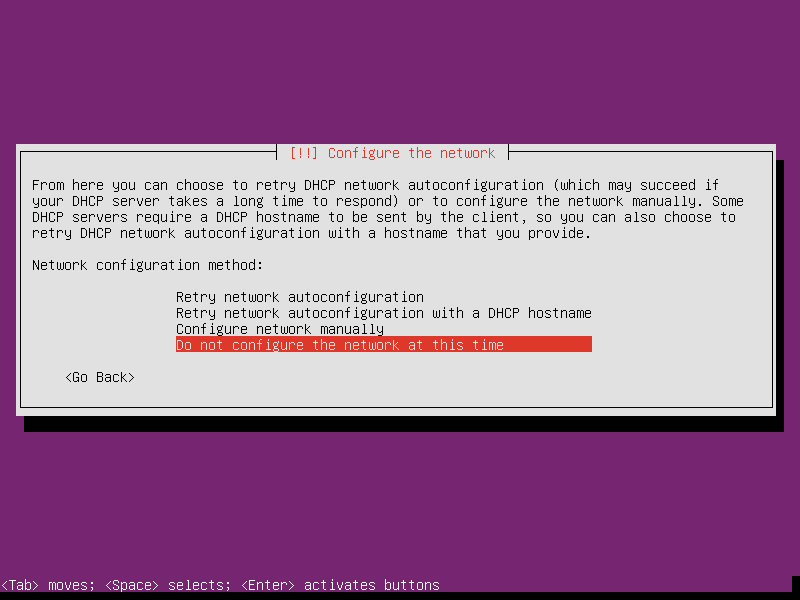
Select whatever a network interface and cancel the DHCP detection. While It shows Network autoconfiguration failed. Never mind it, just select continue, we will fix it later. In the next screen, select Do not configure the network at this time.
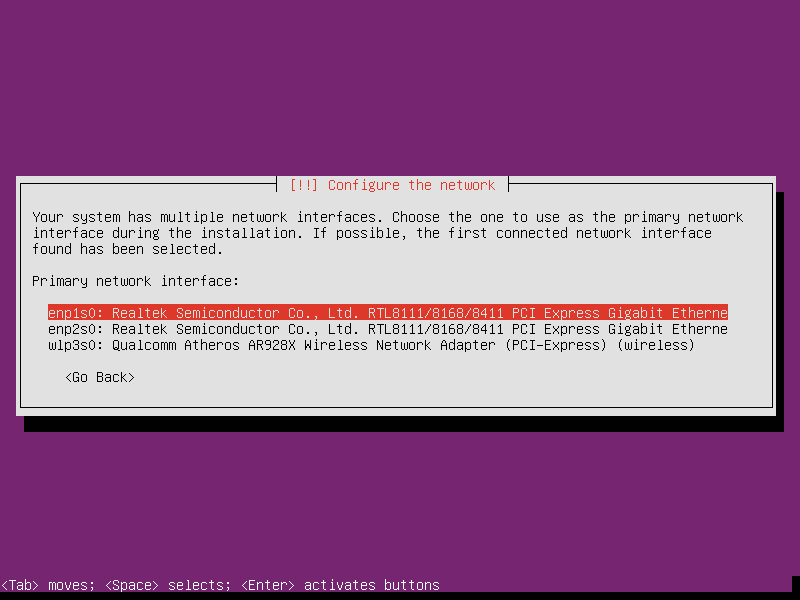
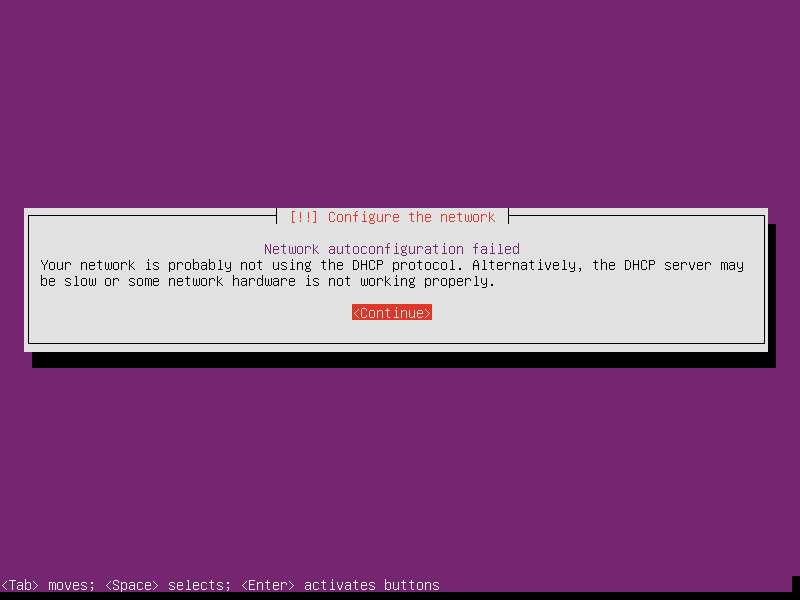
-
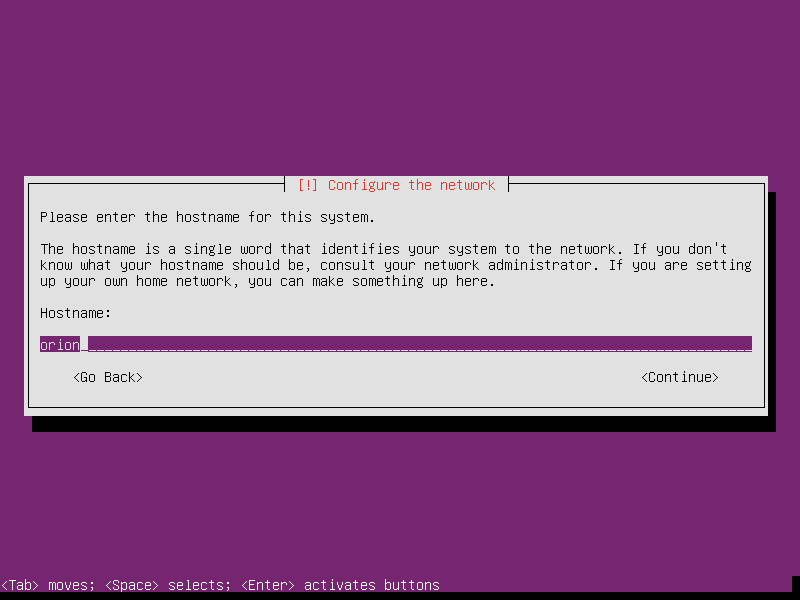
Set hostname as Orion, or whatever the name you like.
-
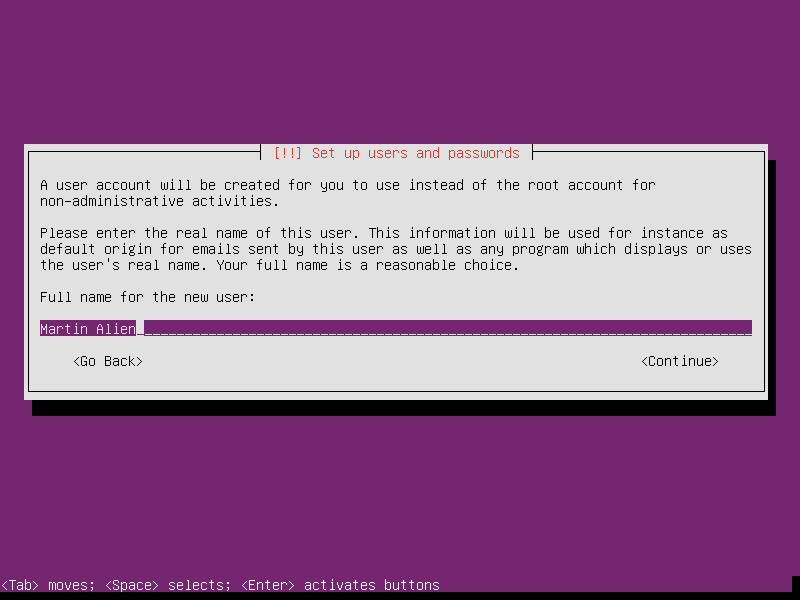
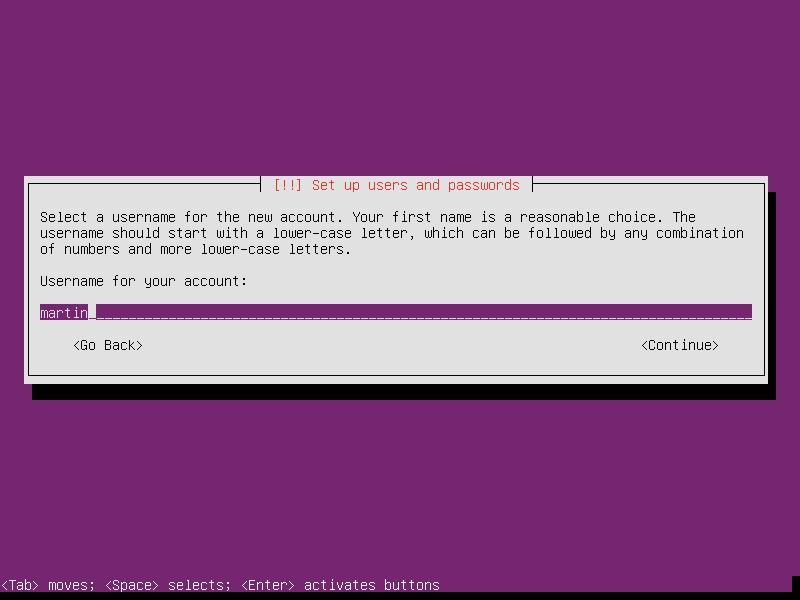
Setup the first user’s username and password. BTW, choose a long enough password, for example length of 20, can protect the router much.
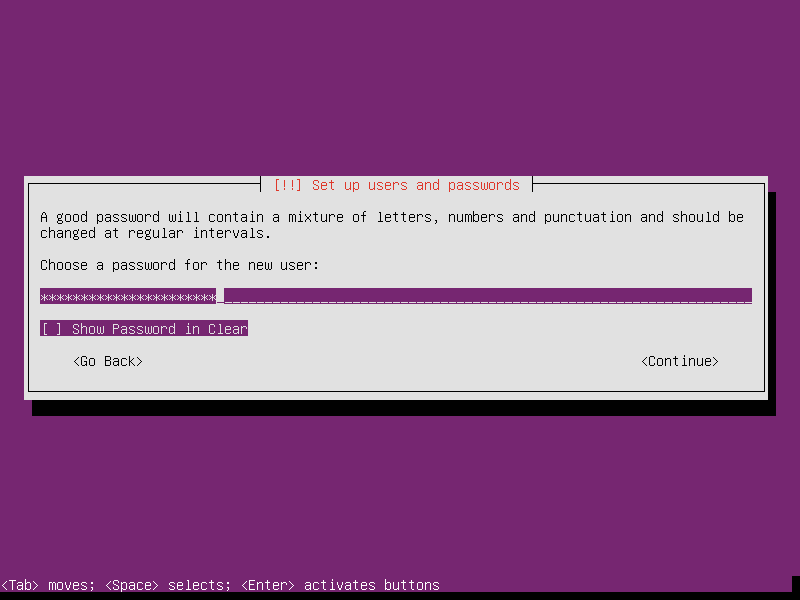
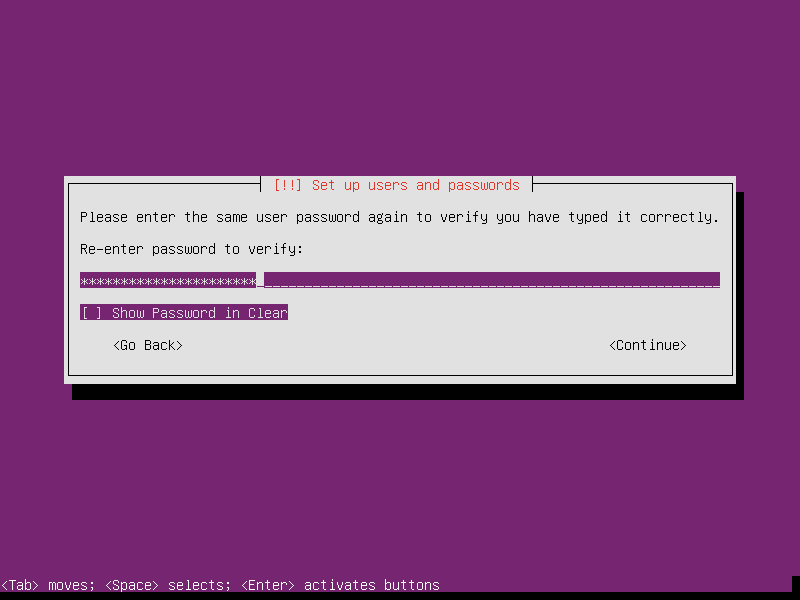
-
Unless you do realy known how to control the encrypted partition/directory in Linux, please don’t select Encrypt your home directory.
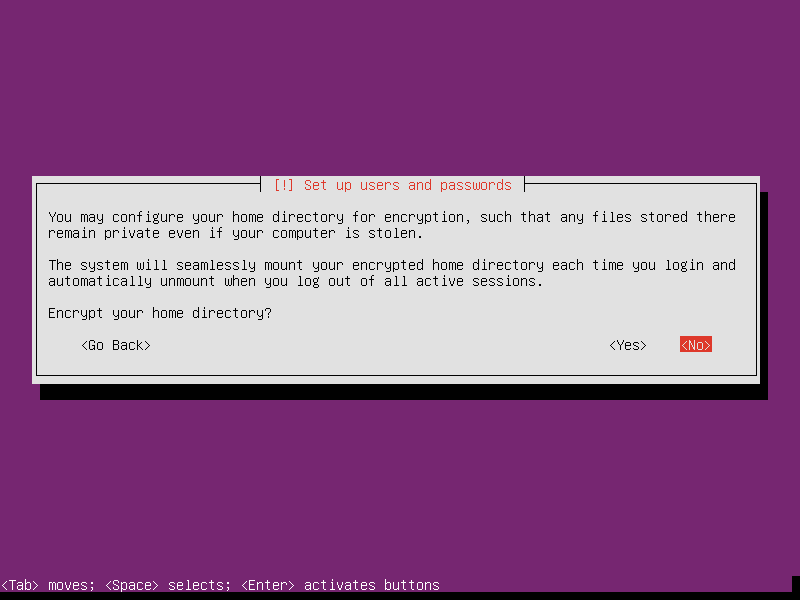
-
Select Eastern as router’s time zone.
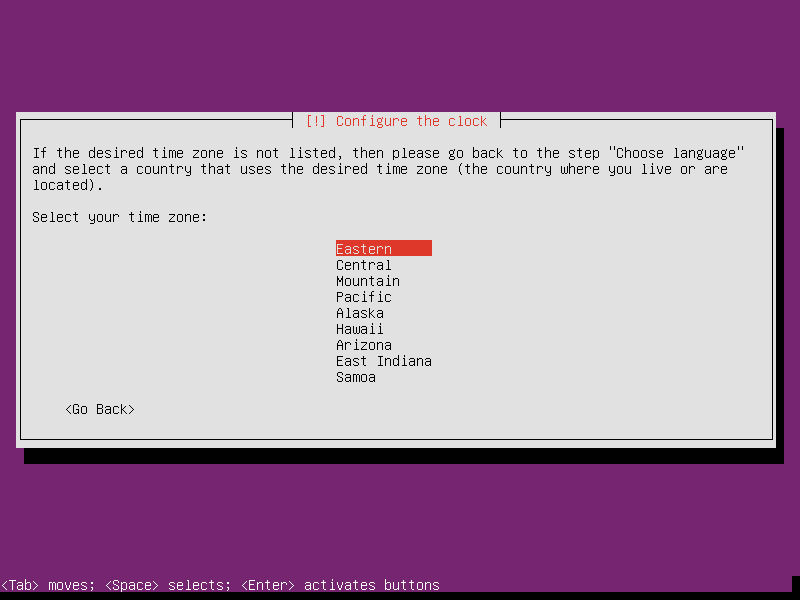
-
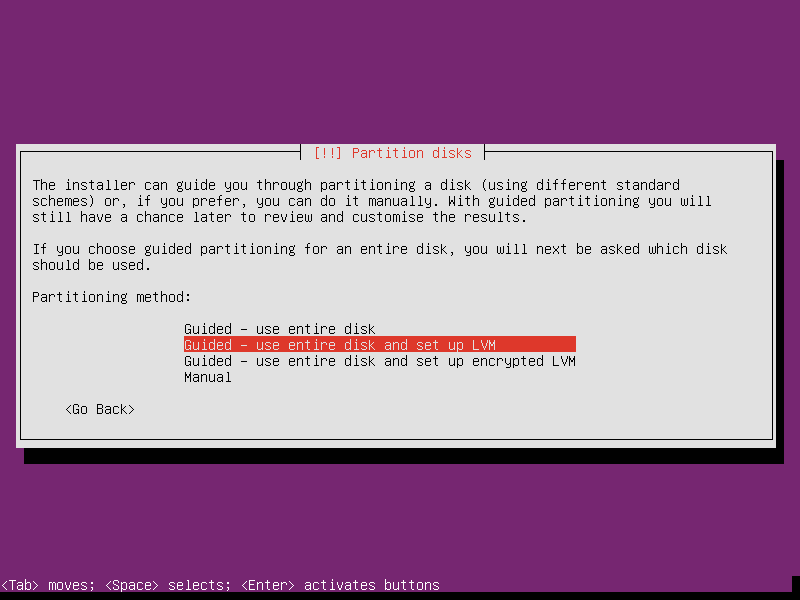
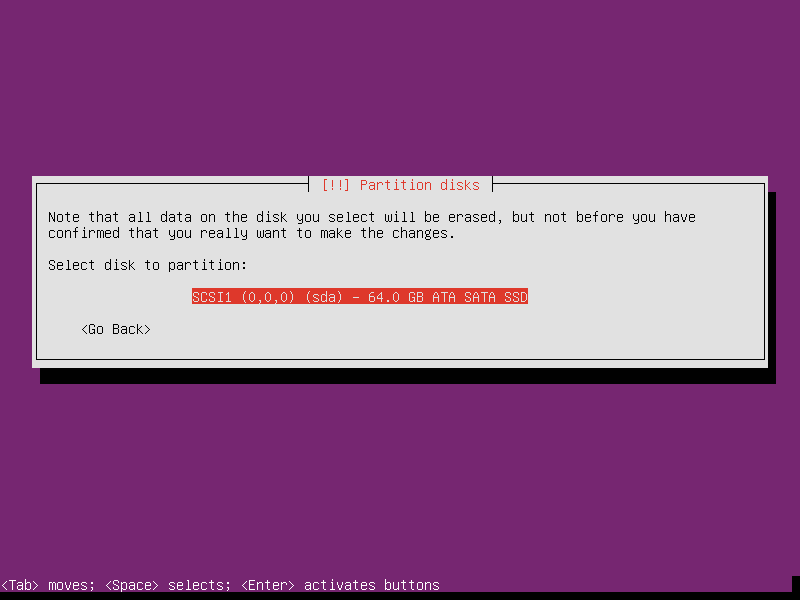
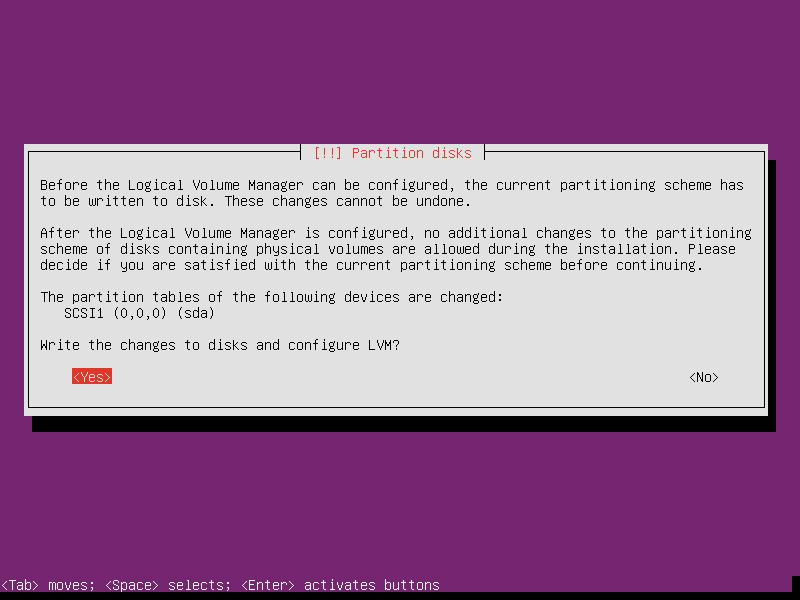
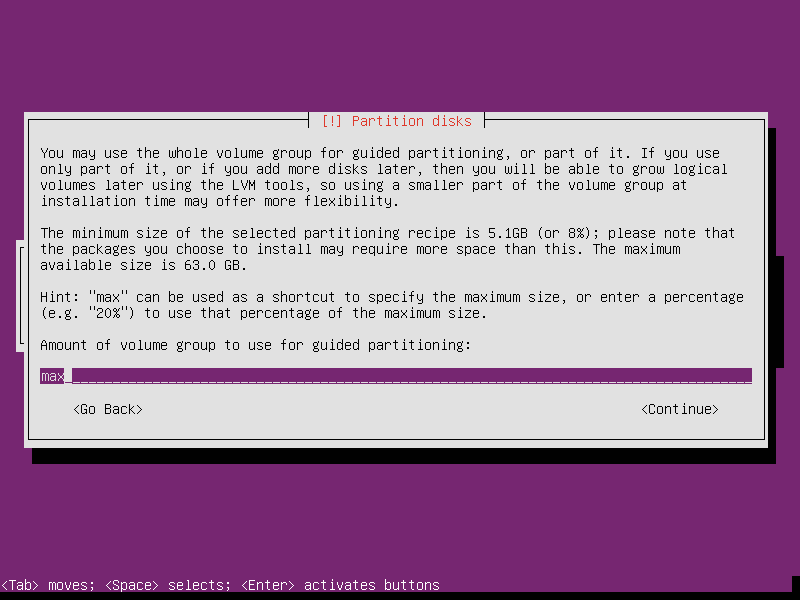
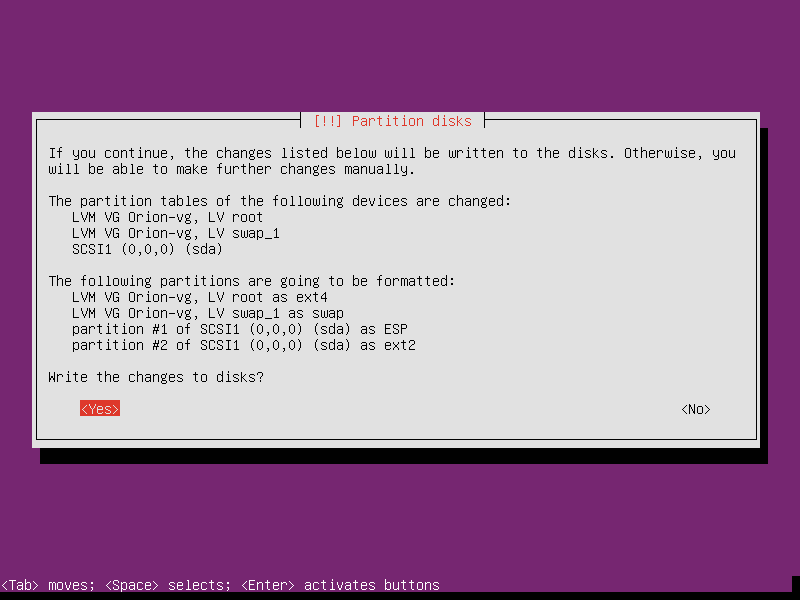
Select partition as Guided - use entire disk and set up LVM. LVM is a good optioin, which supports reduce or extend the partition at run time (except the root partition’s modification needs offline operation). I maybe story about optimize router sometimes later when I have the time. No matter what, choose LVM now.
-
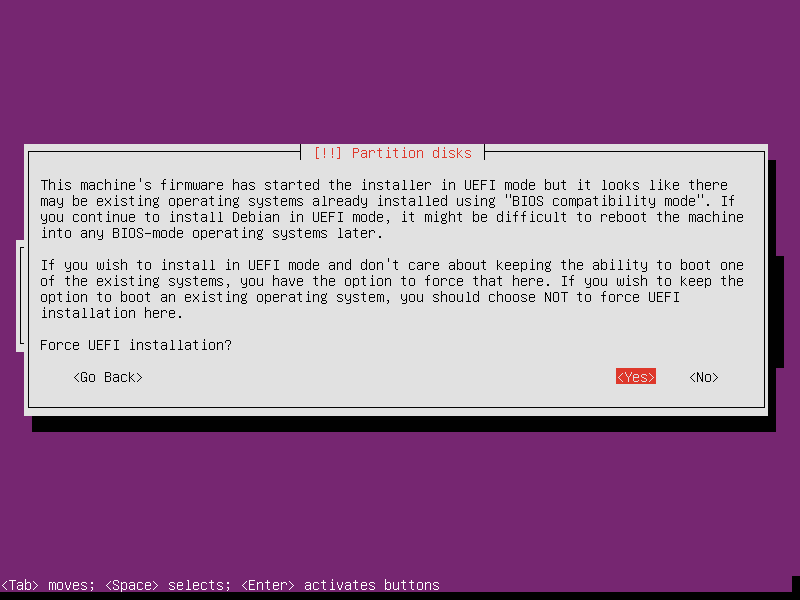
Maybe your machine’s firmware has both UEFI and BIOS compatibility mode. In this case, the router we are building will run Linux only, it’s safe to select Force UEFI installation.
-
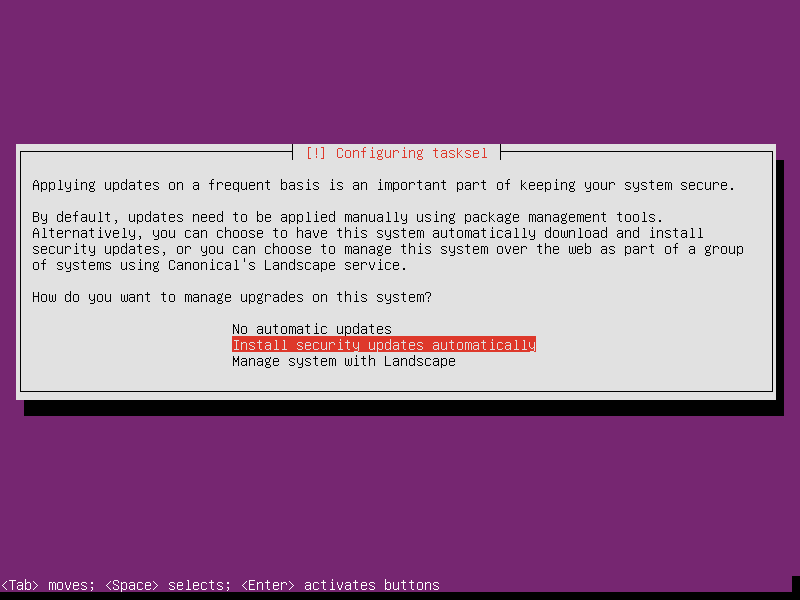
Optionally, select Install security updates automatically. So the Linux will manage security updates in background by itself.
-
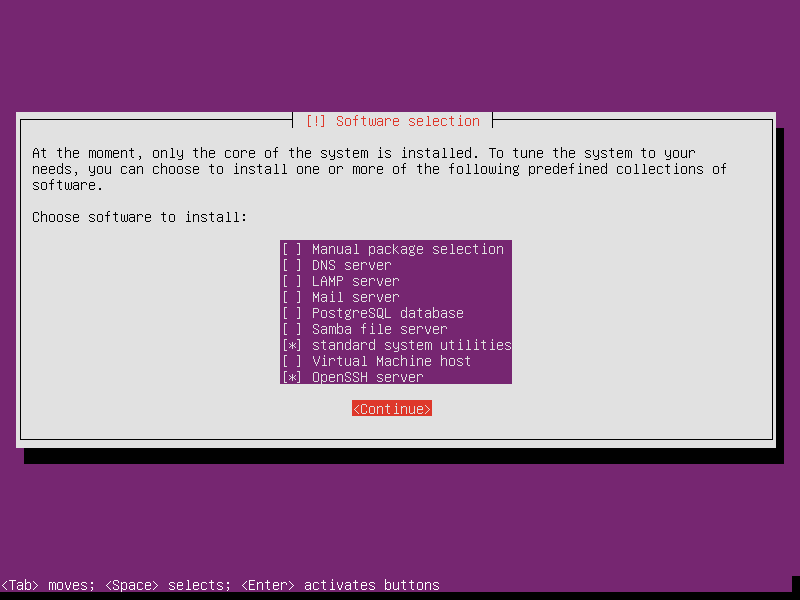
Select OpenSSH server in the selection of software to install. The standard system utilities is strongly suggested. Don’t uncheck it.
-
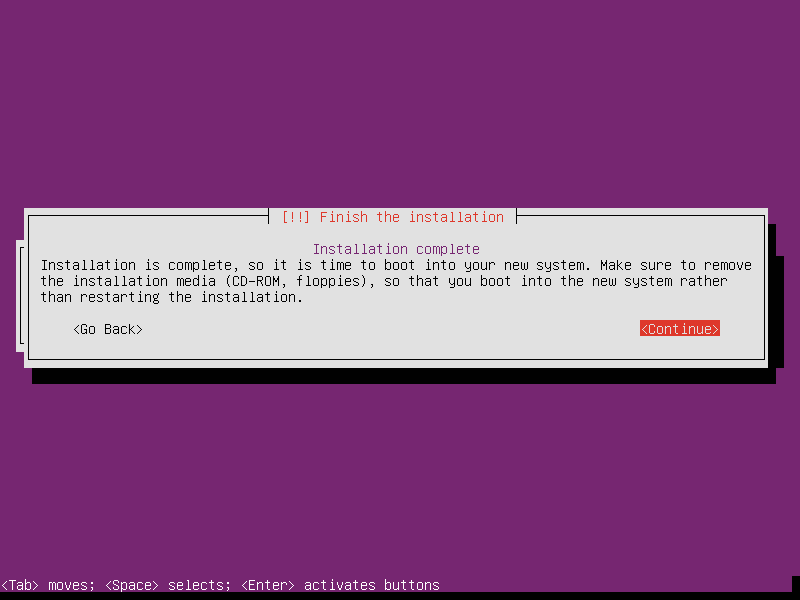
Finally, select Continue at installation complete to finish this part. Let’s continue the next phase after reboot.
Phase 2 - Customize OS Into Router
This part takes about 30 minutes.
Login into OS with the account created at installation, and sudo as the root
account by command sudo su -. All steps following need the root permission.
-
Plug in cable.
At the time now, we temporary need a traditional router, I call it as Router #1, to doing some system update and software installation. Link the Internet inbound cable to Router #1, and link the router we are building, called Router #2, to Router #1. I assume the cable was linked as the char below,
+----------+ +-----------+ | Internet |----| Router #1 | <-- ready to replace in minutes +----------+ +-----------+ | +-----------+ | Router #2 | <-- now we're building +-----------+ -
Setup network interfaces and online Router #2.
 cat > /tmp/interfaces << EOF
 auto enp1s0
 iface enp1s0 inet dhcp
 EOF

 ifup -i /tmp/interfaces enp1s0

 ip address | grep enp1s0 | grep inet
It’ll show up the DHCP IP address in form
inet 192.168.1.100/24 brd 255.255.255.255 scope global enp1s0The 192.168.1.100 part is the router’s IP address currently. I login into the router from another PC by command,
ssh 192.168.1.100After login,
sudo su -as root again. -
Customize apt repository. It’s Optional.
mv /etc/apt/sources.list /etc/apt/sources.list.us sed 's/us\.archive/cn.archive/g' /etc/apt/sources.list.us \ > /etc/apt/sources.list.cn ln -s /etc/apt/sources.list.cn /etc/apt/sources.list -
Setup basic firewall rules and apply. We’ll setup the full firewall at end.
iptables -A INPUT -i lo -j ACCEPT iptables -A INPUT -m state --state RELATED,ESTABLISHED -j ACCEPT iptables -A INPUT -j DROP if which ip6tables >/dev/null; then ip6tables -A INPUT -i lo -j ACCEPT ip6tables -A INPUT -m state --state RELATED,ESTABLISHED -j ACCEPT ip6tables -A INPUT -j DROP fi -
Update OS by command,
apt update && apt upgrade --yesSometimes the kernel will be updated. In this case, the OS may suggest you to reboot. The rebooting is not needed right now. To save time, maybe you’d like to reboot in minutes later.
-
Install dnsmasq, hostapd, bridge-utils, pppoeconf, wireless-tools and rng-tools by
aptcommands,apt install --yes dnsmasq hostapd bridge-utils pppoeconf \ wireless-tools rng-tools systemctl stop dnsmasq hostapdWe need these APPs for purpose,
- dnsmasq provides DNS cache and DHCP service;
- hostapd manages the wireless radio;
- bridge-utils is use to combine wired and wireless into one network;
- pppoeconf manages the dial up;
- wireless-tools is in charge of limit radio radiation;
- rng-tools is a golden key to make random number generated faster, which is needed in every contact between wireless device and router.
-
Setup dnsmasq by following commands,
mkdir -p /etc/dnsmasq.d-available # ensure "/etc/dnsmasq.d-available" exists cat > /etc/dnsmasq.d-available/router.conf << EOF # /etc/dnsmasq.d-available/router.conf # vim: ft=dnsmasq # # Configuration file for dnsmasq. # # Format is one option per line, legal options are the same # as the long options legal on the command line. See # "/usr/sbin/dnsmasq --help" or "man 8 dnsmasq" for details. local=/lan/ interface=br0 bind-interfaces #localise-queries # What's this? domain=lan domain-needed cache-size=10000 dhcp-range=192.168.2.100,192.168.2.150,12h dhcp-option=252,"http://router.lan/wpad.dat" read-ethers # Debug options #log-queries #log-dhcp EOF ln -s /etc/dnsmasq.d-available/router.conf \ /etc/dnsmasq.d/router.conf touch /etc/ethers # ensure "/etc/ethers" exists -
Setup hostapd by commands,
cat > /etc/hostapd/hostapd.conf << EOF # /etc/hostapd/hostapd.conf # vim: ts=4 sw=4 noet ft=conf # # hostapd configuration file interface=wlp3s0 # For nl80211, request the AP interface, wlp3s0, to be added to # the bridge automatically. Sometimes, the \`brctl\` may refuse # to do this before hostapd has been start to change the # interface mode. bridge=br0 # If \`lsmod | grep mac80211\` shows up something, the driver # parameter should be specified as nl80211. Please refers # hostapd's document for details. driver=nl80211 ssid=MyRouter country_code=CN ieee80211d=1 # Related to "country_code". hw_mode=g channel=9 beacon_int=100 # 1 = Open System Authentication # 2 = Shared Key Authentication (requires WEP) # 3 = Open System Authentication & WEP auth_algs=1 # 0 = Broadcast SSID # 1 = Send empty (length=0) SSID in beacon and ignore probe # request for broadcast SSID # 2 = Clear SSID (ASCII 0), but keep the original length (this # may be required with some clients that do not support # empty SSID) and ignore probe requests for broadcast SSID ignore_broadcast_ssid=0 wmm_enabled=1 disassoc_low_ack=1 ieee80211n=1 ht_capab=[HT40-][SHORT-GI-40][RX-STBC1] # If this option is turned on, Windows PC will NOT work. But # Linux and Android will get a bit more bandwidth. #require_ht=1 wpa=2 wpa_passphrase=some-random-words wpa_key_mgmt=WPA-PSK rsn_pairwise=CCMP EOF sed -i "s/^#*DAEMON_CONF=.*/DAEMON_CONF=\"\/etc\/hostapd\/hostapd.conf\"/" /etc/default/hostapd -
Setup network interfaces by commands,
cat > /etc/network/interfaces.d/router << EOF # /etc/network/interfaces.d/router # vim: ts=4 sw=4 noet ft=conf.interfaces # # This file describes the network interfaces available on your # system and how to activate them. For more information, see # interfaces(5). # The primary network interface allow-hotplug enp1s0 iface enp1s0 inet manual # There's no need to bring up inteface enp2s0 and wlp3s0, because # they're controlled by bridge br0. So, I commented 3 lines # below. #auto enp2s0 wlp3s0 #iface enp2s0 inet manual #iface wlp3s0 inet manual auto br0 iface br0 inet static address 192.168.2.1 network 192.168.2.0 netmask 255.255.255.0 broadcast 192.168.2.255 # For nl80211 driven interface, wlp3s0 will add into br0 # by hostapd. Please refer the config file, # "/etc/hostapd/hostapd.conf". # # In fact, if I add wlp3s0 here below, i.e. # # bridge-ports enp2s0 wlp3s0 # # the router stuck at start up. So I choose to NOT TO BRIDGE # wlp3s0 as line shows below, bridge-ports enp2s0 # If the router start up slowly, please uncomment the line # below. For some reason, the system will stuck at boot for # 30 seconds up to 5 minutes while enp2s0 is not cable # plugged. This option could speed up the booting. bridge-maxwait 0 EOF -
Setup start up script
cat > ~/router.sh << "EOF" #!/bin/sh # vim: ts=4 sw=4 # # /root/router.sh #### SETTINGS #### DEBUG= WANIF=ppp+ LANIF=br0 LANIP=192.168.2/24 #### SOURCE CODE #### PATH=/sbin:$PATH # Wait for system up sleep 3 # Allow IP forward as a honest router always do sysctl net.ipv4.ip_forward=1 # Setup firewall cleanup_rules() { # Clean up iptables rules iptables -F iptables -X iptables -Z iptables -t nat -F iptables -t nat -X iptables -t nat -Z }; [ ${DEBUG} ] && cleanup_rules setup_basic_rules() { # Allow router local trans # Allow related trans which fired from LAN & router # Allow `ping` from LAN iptables -A INPUT -i lo -j ACCEPT iptables -A INPUT -m state --state RELATED,ESTABLISHED -j ACCEPT iptables -A INPUT -i ${LANIF} -p icmp -j ACCEPT }; setup_basic_rules allow_services_from_wan() { # WAITING FOR YOUR CALL return # Example, # # Allow HTTP/HTTPS from WAN # iptables -A INPUT -i ${WANIF} -p tcp -m multiport --dports http,https -j ACCEPT }; allow_services_from_wan allow_services_from_lan() { # Allow `ssh` from LAN iptables -A INPUT -i ${LANIF} -p tcp --dport ssh -j ACCEPT # Allow DNS & DHCP from LAN iptables -A INPUT -i ${LANIF} -p tcp --dport domain -j ACCEPT iptables -A INPUT -i ${LANIF} -p udp -m multiport --dports domain,bootps,bootpc -j ACCEPT # Allow Samba from LAN iptables -A INPUT -i ${LANIF} -p tcp -m multiport --dports netbios-ssn,microsoft-ds -j ACCEPT iptables -A INPUT -i ${LANIF} -p udp -m multiport --dports netbios-ssn,microsoft-ds -j ACCEPT # Allow NFS from LAN iptables -A INPUT -i ${LANIF} -p tcp -m multiport --dports netbios-ns,netbios-dgm -j ACCEPT iptables -A INPUT -i ${LANIF} -p udp -m multiport --dports netbios-ns,netbios-dgm -j ACCEPT }; allow_services_from_lan drop_dirty_requests() { # Hey hacker! DON'T TOUCH ME! iptables -A INPUT -p tcp -j REJECT --reject-with tcp-reset iptables -A INPUT -p udp -j REJECT --reject-with icmp-port-unreachable iptables -A INPUT -j REJECT --reject-with icmp-proto-unreachable iptables -A INPUT -j DROP }; drop_dirty_requests enable_router() { iptables -A FORWARD -i ${WANIF} -o ${LANIF} -m conntrack --ctstate RELATED,ESTABLISHED -j ACCEPT iptables -A FORWARD -i ${LANIF} -o ${WANIF} -j ACCEPT [ ${DEBUG} ] && iptables -A FORWARD -m limit --limit 5 -j LOG --log-prefix "FW-DROP: " iptables -t nat -A POSTROUTING -s ${LANIP} ! -d ${LANIP} -o ppp+ -j MASQUERADE }; enable_router cleanup_ipv6_rules() { # Clean up ip6tables rules ip6tables -F ip6tables -X ip6tables -Z }; [ ${DEBUG} ] && cleanup_ipv6_rules setup_basic_ipv6_rules() { ip6tables -A INPUT -i lo -j ACCEPT ip6tables -A INPUT -m state --state RELATED,ESTABLISHED -j ACCEPT ip6tables -A INPUT -i ${LANIF} -p icmp -j ACCEPT }; setup_basic_ipv6_rules allow_ipv6_services_from_lan() { ip6tables -A INPUT -p tcp --dport ssh -j ACCEPT }; allow_ipv6_services_from_lan drop_dirty_ipv6_requests() { ip6tables -A INPUT -p tcp -j REJECT --reject-with tcp-reset ip6tables -A INPUT -p udp -j REJECT --reject-with icmp6-port-unreachable ip6tables -A INPUT -j DROP }; drop_dirty_ipv6_requests EOF chmod +x ~/router.sh -
Setup cron job in root account to launch router function related APPs at start up. Type the following lines into root’s crontab by command
crontab -e.# setup router @reboot ~/router.sh >> ~/crontab.log 2>&1 # limit radio power @reboot /sbin/iwconfig wlp3s0 txpower 12 >> ~/crontab.log 2>&1 # use swap only phy memory ran out @reboot /sbin/sysctl vm.swappiness=0 >> ~/crontab.log 2>&1 -
Plug inbound cable into the router box.
The cable linking is assumed as the char below,
+----------+
| Internet |   (Router 1 here is removed)
+----------+
            \
             \
              +----------+
              | Router 2 |  <-- now we building
              +----------+
From now on, the traditional router is ready to retire.
-
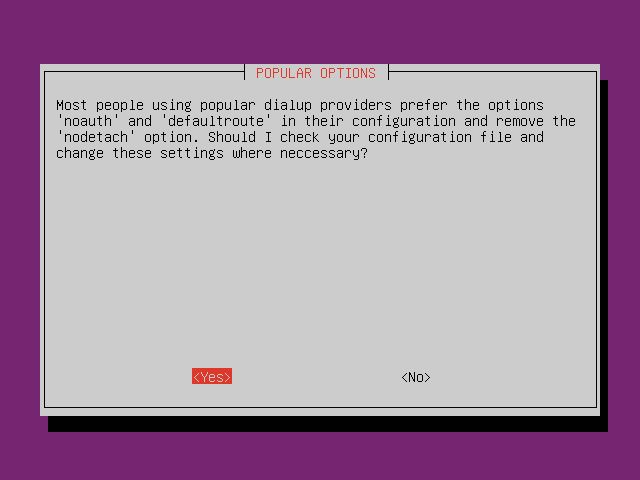
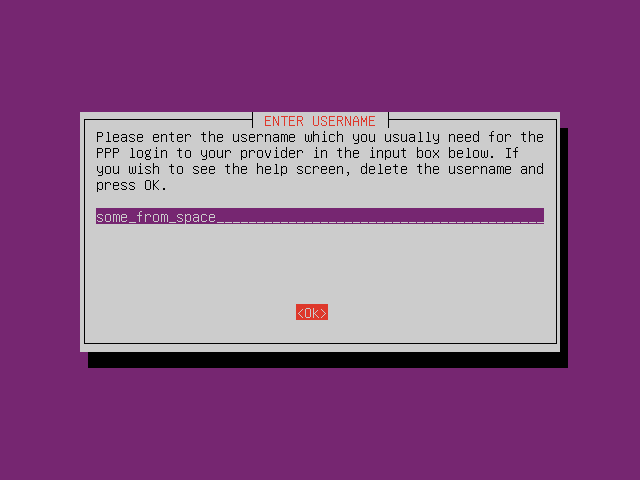
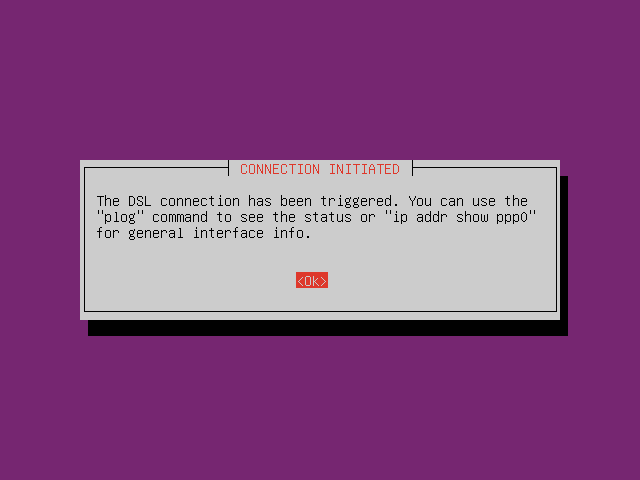
Setup PPPoE by typing command
pppoeconfin CLI. Follow the instruction.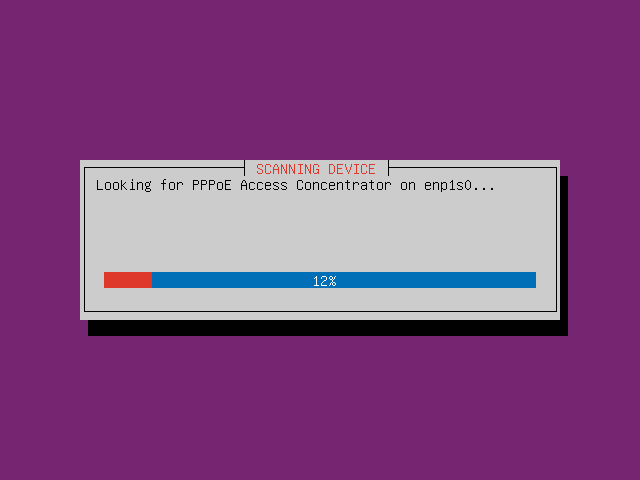
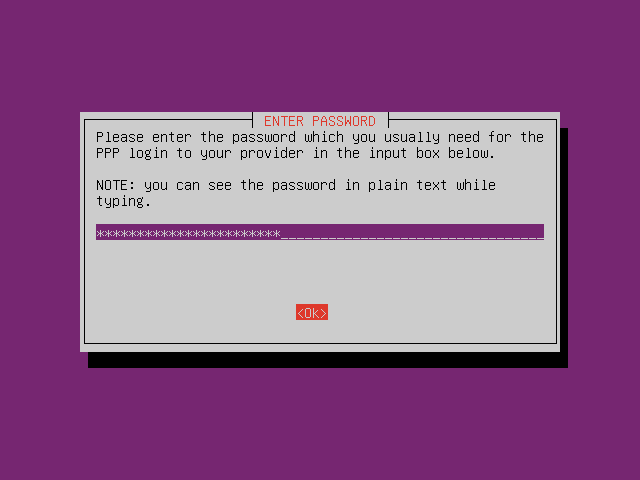
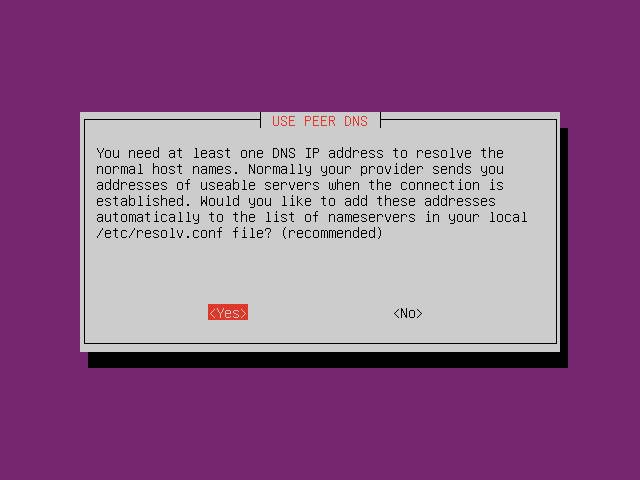
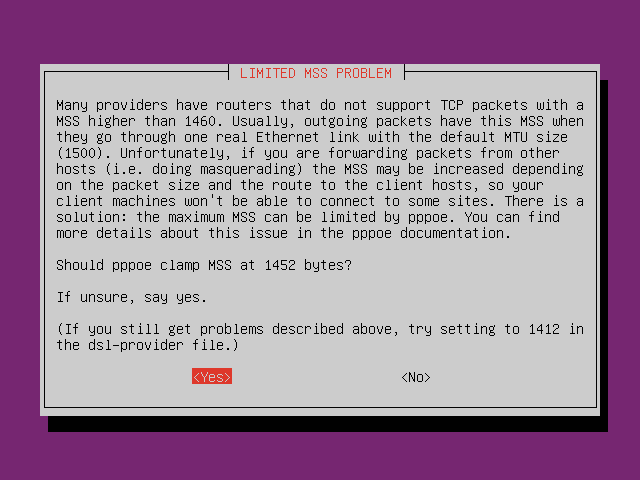

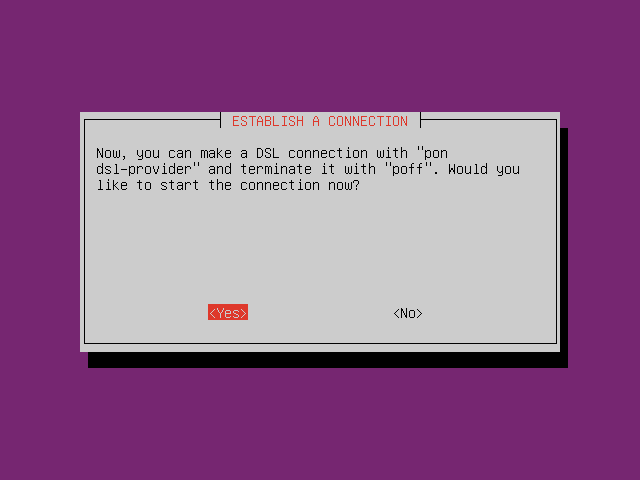
-
Finish
Now, it’s the time to reboot! After the router rebooted, now we can search wireless AP with name MyRouter, and connect it with the passwords some-random-words.
Edit History
- First pushlish @2017-08-15T18:10:43-04:00
- Update @2017-08-26T10:32:43-04:00
- Fix crontab @2017-08-26T22:26:32-04:00